We are drywall sanding and installation experts, here are the techniques our professionals use to ensure a smooth and proper finish.
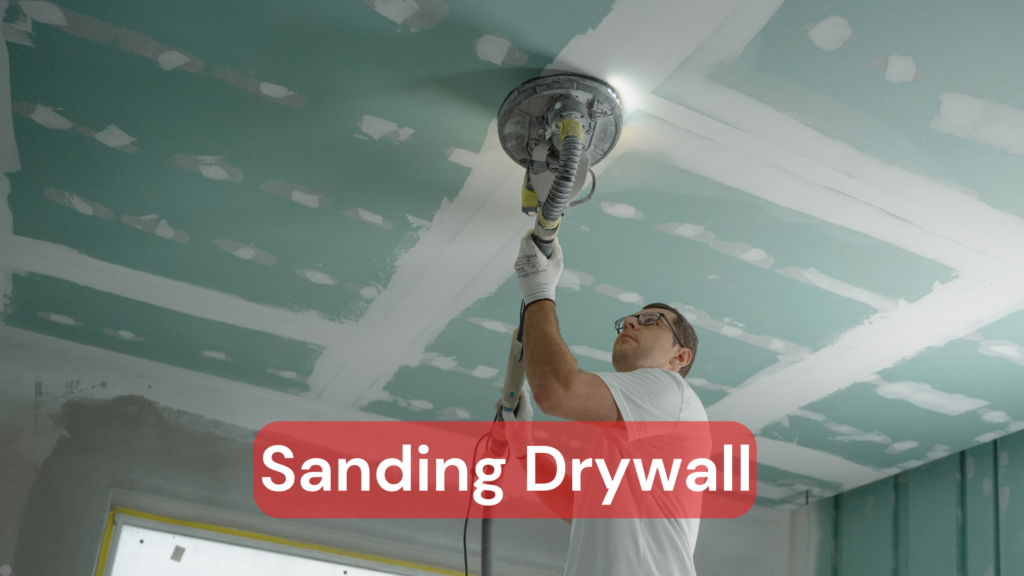
Table of Contents
Sanding drywall requires skill, patience, and the right approach. Many DIY enthusiasts underestimate this critical step, leading to visible seams and an unprofessional finish. Let’s break down the exact process professionals use to achieve flawless results.
Why Professional Drywall Sanding Matters
Poor drywall sanding can ruin even the best paint job. Small imperfections become obvious once paint is applied, especially in areas with natural light. As professional interior painters, we see these issues regularly when fixing DIY attempts.
Essential Tools for Drywall Sanding
Before discussing what grit sandpaper for sanding drywall, let’s cover the basic tools you’ll need:
- Pole sander with swivel head
- Hand sanding block
- Sanding sponges
- Multiple grit sandpapers
- Dust mask or respirator
- Safety goggles
- Work lights
- Shop vacuum
The Right Grit Progression
Professional drywall finishing follows a specific sandpaper grit progression:
1. Initial Sanding (120-grit)
Start with 120-grit sandpaper to remove major ridges and excess joint compound. Use light pressure to avoid gouging.
2. Medium Sanding (150-grit)
Switch to 150-grit to smooth the surface further and blend the edges of your joint compound with the surrounding drywall.
3. Final Sanding (220-grit)
Finish with 220-grit for the smoothest possible surface. This creates an ideal base for primer and paint.
Professional Sanding Techniques
Follow these steps for best results:
- Sand in a sweeping motion
- Keep your sander flat against the wall
- Work in small sections
- Check your work with good lighting
- Clean between grits
Common Mistakes to Avoid
These errors can compromise your finish:
- Skipping grits in the progression
- Applying too much pressure
- Rushing the process
- Poor lighting while working
- Inadequate dust control
When to Call a Professional
While DIY drywall sanding is possible, certain situations call for professional help:
- Large renovation projects
- High ceilings
- Complex repairs
- Time constraints
- Premium finish requirements
Our professional handyman services include expert drywall finishing. We bring 25+ years of experience to every project.
The Cost of Getting It Wrong
Poor drywall finishing often leads to:
- Visible seams after painting
- Uneven wall texture
- Additional repair costs
- Delayed project completion
- Reduced property value
Professional Results Matter
Quality drywall finishing creates the foundation for when it is ready for an interior paint job. Our residential handyman and repair services always include proper surface preparation to ensure lasting results.
Health and Safety Considerations
Drywall dust poses serious health risks. Professional teams use:
- Professional-grade dust collection systems
- Proper ventilation equipment
- Appropriate protective gear
- Containment procedures
The Value of Professional Service
Professional drywall finishing offers:
- Consistent quality
- Faster completion
- Proper dust control
- Warranty protection
- Peace of mind
With locations across Canada, including Calgary, Edmonton, Kelowna, and Hamilton, our teams deliver professional results every time.
Making the Right Choice
Understanding what grit sandpaper for sanding drywall is just the start. Professional finishing requires experience, proper tools, and attention to detail. Consider the long-term value of professional service versus the risks of DIY attempts.
Ready for professional results? Contact us for a free quote on your drywall finishing project.