Professional strategies to safely remove textured ceilings without damage or costly mistakes.
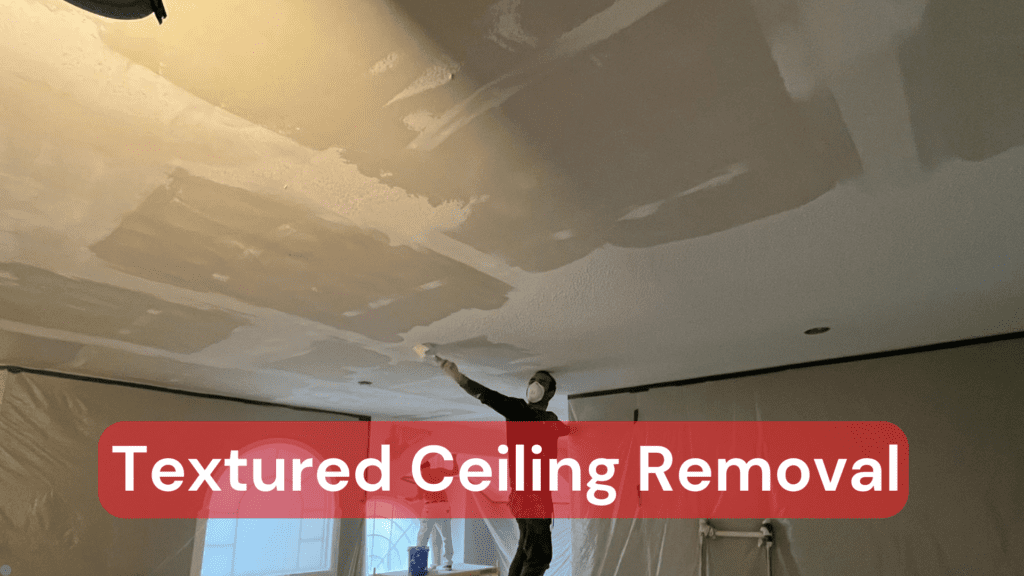
Table of Contents
Removing textured ceilings takes skill, patience, and the right approach. This guide breaks down the process and highlights why professional expertise makes a difference.
Safety First: Essential Preparation Steps
Before you start thinking about how to remove textured ceilings, proper safety measures are critical. Older ceilings may contain asbestos, particularly those installed before the 1980s. Professional testing is the only way to know for sure.
You’ll need:
- N95 respirator mask
- Safety goggles
- Disposable coveralls
- Heavy-duty plastic sheeting
- Painter’s tape
- Drop cloths
Room Preparation Checklist
Proper setup prevents damage and makes cleanup easier:
- Remove furniture or cover with plastic sheeting
- Seal off doorways and vents
- Cover walls with plastic sheeting
- Turn off HVAC systems
- Remove light fixtures and ceiling fans
- Set up proper lighting
Testing the Texture
Different textured ceilings need different removal approaches. Spray a small section with warm water. If it softens within 15 minutes, you’re dealing with a water-soluble texture. If not, you might have paint-covered texture or oil-based material.
As noted in our ceiling texturing guide, professional contractors can quickly identify your ceiling type and choose the most effective removal method.
Common Removal Methods
Water-Based Removal
For unpainted, water-soluble textures:
- Spray small sections with warm water
- Let water penetrate for 15-20 minutes
- Scrape carefully with a wide putty knife
- Work in manageable 4×4 foot sections
Dry Scraping Method
For painted or non-water-soluble textures:
- Use a floor scraper with replaceable blades
- Work at a shallow angle
- Apply steady, even pressure
- Change blades frequently
Common Challenges and Solutions
Uneven Surfaces
Textured ceiling removal often reveals surface imperfections. Professional contractors use specialized tools and techniques to achieve a smooth finish. They know when to repair drywall tape, fill holes, or even replace sections of drywall.
Multiple Layers
Some ceilings have multiple texture layers or paint coats. Each layer needs a specific approach. Our professionals can easily assess the situation and use the right tools for each layer.
Dust Control
Texture removal creates significant dust. Professional teams use containment systems and HEPA vacuums to minimize dust spread. They also protect your HVAC system and prevent dust from settling in other rooms.
After Removal: Surface Preparation
The real work often starts after texture removal:
- Sand any remaining texture
- Repair damaged drywall
- Replace damaged tape joints
- Apply joint compound to imperfections
- Sand for smoothness
- Prime the ceiling
Professional vs. DIY Considerations
While DIY might seem cost-effective, consider these factors:
Time Investment
Professionals can complete the job in days. DIY projects often take weeks, especially for inexperienced homeowners. Our ceiling texturing team brings efficiency and expertise to every project.
Tool Requirements
Professional contractors already own specialized equipment. DIY requires buying or renting tools you might never use again.
Quality Results
Professionals deliver consistent results. They know how to handle unexpected issues and achieve a smooth finish. DIY attempts often lead to visible seams, uneven surfaces, or damaged drywall.
When to Call a Professional
Consider professional help if:
- Your ceiling might contain asbestos
- The texture is painted over
- You notice water damage or cracks
- The ceiling is higher than 8 feet
- You want to change the ceiling texture
Post-Removal Options
After removing the texture, you have several choices:
- Smooth finish
- New texture application
- Decorative treatments
- Paint finishes
Our texturing and ceiling team can help you choose and apply the perfect finish for your space.
Cost Factors
Several elements affect the total cost:
- Room size and ceiling height
- Texture type and condition
- Required ceiling repairs
- Finish options
- Local labor rates
Maintenance Tips
After your ceiling renovation:
- Check for cracks every six months
- Address water stains immediately
- Clean with a soft brush attachment
- Touch up paint as needed
Making the Right Choice
Textured ceiling removal requires careful planning, proper tools, and significant skill. While DIY is possible, professional contractors bring expertise, efficiency, and reliable results. They handle unexpected challenges and deliver quality finishes that last.With over 25 years of experience, our team has removed countless textured ceilings across multiple Canadian cities. We understand the complexities and challenges of ceiling renovation projects. Contact us for a consultation and let our expertise work for you.